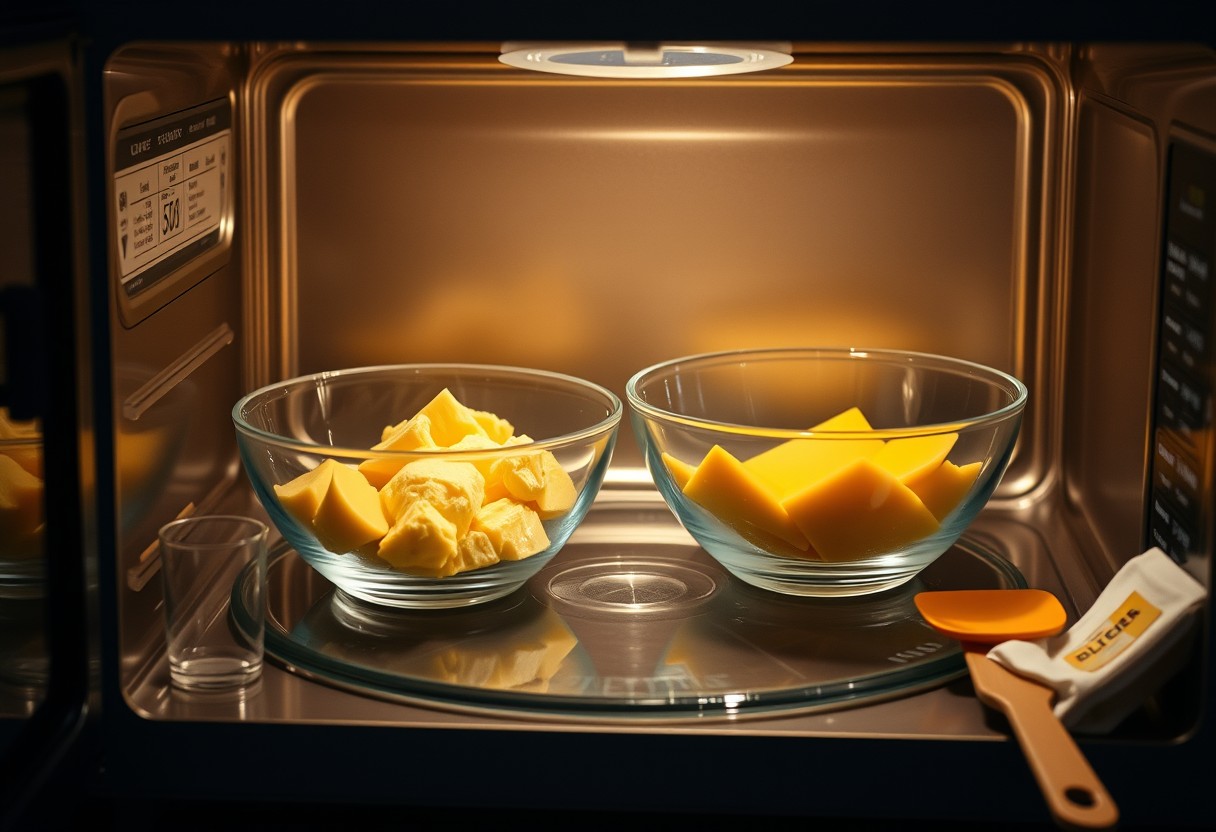
You’ve likely heated cheese in the microwave only to find it tough, stringy, or unappetizingly rubbery. This reaction isn’t random-it happens when proteins tighten and moisture escapes due to excessive heat or prolonged cooking. The good news: with the right cheese and technique, you can achieve smooth, creamy results every time. Understanding the science puts perfect melted cheese within your reach.
Key Takeaways:
- High heat or prolonged microwaving causes cheese proteins to tighten and expel moisture, leading to a rubbery texture-using lower power settings and shorter intervals helps maintain smoothness.
- Not all cheeses melt the same; those with higher moisture and fat content like mozzarella or American cheese respond better to microwaving than aged, drier varieties such as Parmesan.
- Stirring cheese during heating and covering it to trap steam promotes even melting and prevents dry, tough spots from forming on the surface.
Understanding the Science of Rubbery Cheese
Heat transforms cheese in complex ways, and microwaving intensifies these changes due to rapid energy transfer. When exposed to high temperatures quickly, the casein proteins in cheese can denature and tighten, squeezing out moisture and fat. This structural shift often leads to a rubbery texture instead of smooth melting. Simultaneously, uneven heating may cause fat separation, where oils pool away from the protein network, further degrading mouthfeel. Your choice of cheese influences this outcome, but the core issue lies in how its molecular structure responds under intense thermal stress.
Factors involving casein protein reactions
Casein proteins form the backbone of cheese’s structure, and your microwave’s intensity directly impacts their behavior. When heated too quickly, these proteins undergo rapid denaturation, collapsing into dense, tightly bound clusters. This process reduces elasticity and creates a tough, rubbery consistency that resists smooth melting. Cheeses with less stable casein networks-like low-moisture varieties-are especially prone to this reaction. Key factors include:
- Sudden temperature spikes causing irreversible protein bonding
- High acid levels weakening casein stability before melting
- Excessive heat breaking down protein-fat emulsions essential for creaminess
How moisture evaporation affects molecular elasticity
Microwaves excite water molecules, making moisture loss one of the fastest changes during heating. As water evaporates from your cheese, the remaining proteins and fats concentrate, increasing the likelihood of a dry, stiff texture. This dehydration disrupts the delicate balance needed for elasticity, leaving behind a leathery film or clumpy mass. The speed of microwave heating often outpaces even melting, so surface areas can dry out while the center remains cold. Maintaining internal moisture is essential to preserving a soft, cohesive melt.
Selecting the Best Cheeses for Microwaving
Young, high-moisture cheeses generally respond better to microwaving than aged, dry varieties. The higher water content in fresh cheeses like mozzarella, young cheddar, or Monterey Jack helps distribute heat more evenly, reducing the risk of protein clumping that leads to rubberiness. In contrast, hard, aged cheeses such as Parmesan or aged Gouda contain less moisture and more concentrated proteins, making them prone to separating and becoming tough under microwave heat. Choosing the right cheese can mean the difference between a smooth melt and an unpleasant texture.
Tips for choosing high-fat varieties for better flow
Cheeses with higher fat levels tend to melt more smoothly because fat protects proteins from overcoagulating during heating. When selecting cheese for microwaving, prioritize options where fat enhances creaminess rather than stringiness.
- Opt for full-fat mozzarella instead of part-skim for improved meltability
- Choose young cheddar with at least 30% milk fat for richer flow
- Look for labels indicating “pasteurized process” or “melting cheese” which are formulated for heat stability
- Avoid low-fat or fat-free versions, as they often turn grainy or rubbery
Factors that make low-acid cheeses melt more smoothly
Cheese acidity directly impacts how well it melts under microwave exposure. Low-acid varieties maintain a more stable protein structure when heated, preventing rapid separation of fat and moisture. This balance allows for a creamier result without stringiness or clumping.
- Mozzarella and provolone have naturally lower acidity, aiding even melting
- High-acid cheeses like cottage cheese or queso fresco break down quickly and unevenly
- The pH level near neutrality (around 5.4-5.8) supports optimal melt performance
- Acid buildup during aging can tighten protein networks, increasing rubberiness risk

Preparation Techniques for Uniform Heat
Maximizing surface area before microwaving dramatically improves how evenly cheese melts. When you expose more of the cheese to heat, it softens faster and avoids overheating in certain spots. Cutting or shredding creates thin sections that respond quickly and uniformly, while large chunks develop a hard exterior before the center warms. For best results, never microwave cheese straight from the fridge in solid form-this increases the risk of rubbery textures. Instead, prepare it with deliberate cuts that support consistent warming throughout.
How to shred cheese for maximum heat distribution
Shredding your cheese just before use ensures the finest control over melt quality. Thin, uniform strands allow heat to penetrate every piece at the same rate, preventing some parts from turning rubbery while others remain cold. Use a box grater’s smallest holes or a food processor with a fine blade for consistent results. Avoid pre-shredded varieties coated in anti-caking agents, as these can interfere with smooth melting. The larger surface area from fresh shredding is essential for achieving a creamy, even texture in record time.
- surface area
- shredded cheese
- even melting
- heat distribution
- freshly grated
Tips for bringing cheese to room temperature before cooking
Starting with cold cheese forces the microwave to work harder on the exterior while the core lags behind, increasing the chance of textural failure. Letting cheese sit out for 20 to 30 minutes before heating brings it closer to its melting point, so it responds gently to short bursts of energy. This simple step reduces thermal shock and supports a smoother transition from solid to molten. The milder temperature shift helps preserve creaminess and prevents premature firming that leads to chewiness.
| Preparation Method | Impact on Cheese Texture |
|---|---|
| Slicing thinly | Promotes even warming with minimal hot spots |
| Shredding finely | Maximizes surface exposure for rapid, uniform melt |
| Cubing (½ inch) | Balances speed and control for dense cheeses |
| Room-temperature start | Reduces risk of outer hardening during heating |
Microwave Power and Timing Strategies
Adjusting your microwave’s power settings is key to avoiding rubbery textures when melting cheese. Instead of using full power continuously, opt for low-wattage cycling-short bursts at 30% to 50% power with pauses in between. This approach allows heat to distribute evenly through the cheese, preventing the protein structure from overcoagulating. High-intensity exposure, even for brief periods, can rapidly dehydrate the fat and protein matrix, leading to toughness. By pacing the energy input, you maintain a smooth, creamy consistency ideal for sauces or toppings.
How to adjust power levels for gradual melting
Set your microwave to 30% power for softening or melting cheese slowly and evenly. At this level, the appliance emits energy intermittently, giving the cheese time to absorb heat without scorching. Start with 30-second intervals, checking after each cycle to avoid overheating. Dense cheeses like cheddar or gouda respond best to this method, as they require more time for internal heat distribution. Always pause and assess rather than risk surpassing the ideal melting point.
Tips for using the heat-and-stir method effectively
After every 15 to 20 seconds of microwaving at low power, remove the dish and stir the cheese thoroughly. This action redistributes heat and exposes cooler portions to warmer zones, promoting uniform consistency. Use a silicone spatula to scrape the edges, where melting begins first. Stirring prevents localized overheating, which can trigger protein tightening. Repeat the cycle in short bursts until fully melted-patience ensures a silky texture without separation.
- Use low-wattage cycling instead of continuous high power
- Set microwave to 30-50% power for gradual, even melting
- Pause and stir every 15-20 seconds to prevent hotspots
- Monitor texture closely-overheating causes protein tightening
- Choose short intervals to maintain control over the melting process
Essential Moisture Retention Methods
Steam containment during microwaving plays a decisive role in preserving the delicate moisture balance within cheese. When exposed to dry-air conditions, cheese rapidly loses surface hydration, triggering protein tightening and a rubbery texture. By contrast, trapping natural steam helps maintain an evenly humid environment, slowing moisture escape and supporting smoother melting. Using covers that allow slight venting prevents pressure buildup while still conserving essential humidity. The difference between a creamy result and an undesirable chew often hinges on this controlled exposure.
How to use vented covers and damp barriers
You can effectively preserve moisture by placing a microwave-safe plate or lid with a small vent over the cheese. This setup allows excess pressure to escape without letting all the steam dissipate. For even better results, lay a slightly damp paper towel directly over the cheese before covering-this introduces immediate humidity at the surface level where drying begins first. The damp barrier acts as a shield, reducing direct microwave penetration and preventing rapid dehydration. Avoid using dry cloths or leaving cheese uncovered, as both lead to inconsistent softening and toughness.
Tips for adding liquid stabilizers to maintain creaminess
A splash of milk, cream, or even a spoonful of sour cream blended into shredded cheese before heating can make a noticeable difference in final texture. These liquids introduce additional fat and water content that counteract protein clumping under heat. Stirring in a teaspoon of flour or cornstarch per cup of cheese also helps stabilize the emulsion, reducing separation and improving silkiness. Always mix stabilizers thoroughly before microwaving to ensure even distribution. Results are especially effective with aged cheeses prone to drying out quickly.
- Use vented lids to balance steam retention and pressure control
- Apply a damp paper towel as a direct moisture shield
- Incorporate cream-based liquids to enhance smooth melting
- Add starch thickeners to prevent oil separation and rubberiness
- Maintain low to medium power settings when applying moisture methods
Troubleshooting Common Melting Issues
When microwaved cheese begins to seize or pool, you’re seeing proteins tighten and fats separate due to excessive heat. If the texture turns slightly tough but still holds moisture, stop heating immediately-further exposure will worsen protein bonding. Gently stir to redistribute heat and reintegrate fats; a few seconds at low power may smooth it out. For oil pooling, mix in a teaspoon of milk or cream to restore balance. Some users report success adjusting technique after encountering similar issues like Rind Cracking (Before Waxing) Problem, where temperature control is equally critical.
How to rescue cheese that has started to toughen
You can often reverse early signs of overcooking if you act quickly. As soon as you notice the cheese becoming stringy or grainy, remove it from the microwave and let it sit for 15 seconds. Stir slowly to relax the protein structure and encourage even melting. Adding a small amount of liquid-such as milk, cream, or even a splash of beer-helps loosen the mixture while lowering the effective temperature. Return it for 5-10 seconds on 30% power, watching closely. This method works best with semi-hard cheeses showing minor toughening but not full separation.
Factors that indicate cheese is overcooked beyond repair
Your cheese has likely passed the point of recovery if it forms a solid, rubbery mass with greasy liquid fully separated around it. At this stage, stirring won’t reintegrate the components because the proteins have permanently coagulated and expelled most fat. The texture remains chewy even when cooled, and reheating only intensifies the toughness. Cheeses high in casein, like aged cheddar or processed blocks, are especially prone. Once you see dark spots, blistering, or a spongy feel throughout, the damage is irreversible-better to start fresh with controlled heat next time.
- protein seizing
- oil pooling
- rubbery texture
- overcooked cheese
- microwave melting issues
- casein coagulation
Final Words
You now understand why microwaved cheese can become rubbery-overheating causes proteins to tighten and expel moisture, leading to an unpleasant texture. By choosing cheeses with lower melting points, using low to medium power settings, and incorporating moisture-retaining techniques like covering the dish or adding a splash of liquid, you maintain a smooth, creamy result. Small adjustments in preparation and timing make a clear difference, ensuring your cheese heats evenly without breaking down. This knowledge puts you in control of better outcomes every time you use the microwave.
FAQ
Q: Why does cheese become rubbery when microwaved?
A: Cheese turns rubbery in the microwave due to rapid protein denaturation and fat separation. When exposed to high heat, the casein proteins in cheese tighten and squeeze out moisture and fat. This process accelerates in a microwave because the energy heats the cheese unevenly and often too quickly, especially in high-moisture cheeses like mozzarella or American. The result is a tough, rubbery texture instead of a smooth melt.
Q: Can microwaving any cheese make it rubbery?
A: Not all cheeses react the same way. Cheeses with high moisture and low melting points, such as cheddar, provolone, and processed cheese, are more prone to becoming rubbery under intense microwave heat. Harder, drier cheeses like Parmesan or aged Gouda may not melt well at all but are less likely to turn rubbery. Fresh cheeses like ricotta or goat cheese don’t melt in the traditional sense and can separate or dry out. The key factor is the cheese’s composition-its fat, moisture, and protein balance.
Q: How can I microwave cheese without it turning rubbery?
A: Use low to medium power settings and short time intervals. Start with 10 to 15 seconds on 50% power, stir or check the texture, then repeat if needed. Cutting the cheese into small, uniform pieces helps it heat evenly. Covering the dish with a microwave-safe lid or damp paper towel traps steam and maintains moisture. Stirring during heating, when possible, also prevents hot spots and promotes smoother melting.
Q: Does adding liquid help prevent rubbery cheese in the microwave?
A: Yes, introducing a small amount of liquid-such as milk, cream, or even water-can help preserve a creamy texture. The added moisture slows down protein tightening and distributes heat more evenly. For example, when making a cheese sauce, mixing shredded cheese with a splash of milk and heating it gradually prevents clumping and rubberiness. The liquid acts as a buffer against direct microwave energy.
Q: Are there specific cheeses that melt better in the microwave?
A: Processed cheeses like American or cheese spreads contain emulsifiers such as sodium citrate or sodium phosphate, which stabilize the fat and water content during heating. These additives help maintain a smooth texture even under microwave conditions. Natural cheeses like young cheddar, fontina, or Monterey Jack can also melt well if heated gently. Avoid pre-shredded cheeses when possible, as they often contain anti-caking agents that interfere with smooth melting.