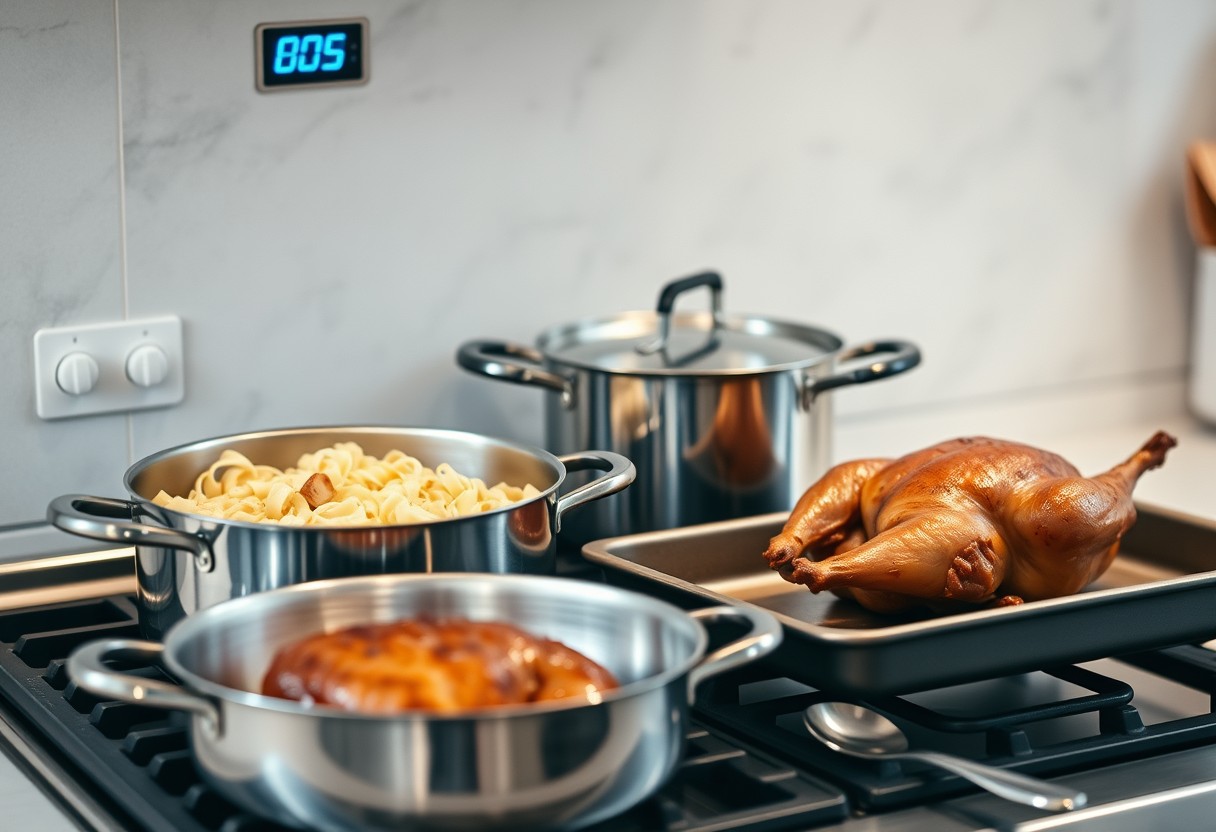
You can have your entrée, sides, and vegetables all ready to plate within seconds of each other-even if they cook at different rates. The secret lies in reverse-planning from your meal’s finish time, not starting each dish when you feel like it. Without this method, one dish may sit too long and lose heat or texture while you wait, creating a dangerous temperature zone for food safety and a disappointing dining experience. You’ll use time as a precise tool, not a guesswork variable.
Key Takeaways:
- A single timeline governs all cooking tasks when preparing multiple dishes, with each step calculated backward from the desired serving time to ensure synchronization.
- Different components start at staggered intervals based on their individual cook times, so faster dishes begin later while longer-cooking elements start earlier.
- Building in a small buffer-typically 5 to 10 minutes-accounts for unexpected delays and keeps the entire meal from derailing if one part runs slightly long.
The Reverse-Engineered Clock
Start by identifying your meal’s finish time-the moment the first guest sits down or the timer dings on your oven. From there, work backward through each dish’s cook time to determine when it should begin. If your roast needs 75 minutes and you’re serving at 7:00 p.m., start it at 5:45 p.m. This method eliminates guesswork and transforms chaotic cooking into a precise sequence. You stay ahead of the rush, knowing exactly when to ignite the burner or open the oven door. Accuracy here is the difference between a composed table and a last-minute scramble.
The Staggered Execution
Start with dishes that require longer cooking times but don’t need constant attention, like roasted vegetables or braised proteins. This frees up your hands and stovetop space for more hands-on tasks later. Overcrowding your burners or oven leads to uneven cooking and lost control, so resist the urge to begin everything at once. Instead, time the second dish-say, a sauté or simmered sauce-to begin just as the first nears its final minutes. Spacing out active cooking moments keeps your workflow smooth and prevents kitchen bottlenecks. You’ll move with precision, not panic.

The Art of the Buffer
You can turn idle moments into strategic advantages by embracing the natural resting periods certain dishes require. Proteins like meats and roasted vegetables often need to rest after cooking, allowing juices to redistribute and textures to settle. This downtime is not a gap in your timeline but a powerful synchronization tool. While your steak rests under loose foil, use those 5-10 minutes to finish a sauce, reheat a side, or plate garnishes. That resting phase becomes your buffer, aligning the final elements without last-minute panic. Time that once felt unproductive now actively serves your timing strategy.
Summing up
You can coordinate a multi-dish meal with precision by working backward from your desired finish time. Start with the dish that takes the longest and map out each step, then align the start times of the other components to meet it near the end. Using visual time markers on a clock face helps you track progress without constant calculation. You build in small buffers to absorb unexpected delays, keeping the entire sequence on track. When you apply this method, even complex meals come together with surprising harmony, and you’re left with more control, less stress, and food that lands on the table hot and in sync.
FAQ
Q: How does the reverse timing method actually work in practice?
A: The reverse timing method starts by identifying when each dish needs to be served, then counts backward from that moment to determine when cooking should begin. For example, if a roast chicken takes 60 minutes to cook and needs to be served at 7:00 PM, it goes into the oven at 6:00 PM. A side of sautéed vegetables that only needs 10 minutes would start at 6:50 PM. This approach aligns completion times without overcooking or holding food too long.
Q: Can this technique work for meals with both stovetop and oven components?
A: Yes, it works especially well when managing multiple heat sources. A mid-sized SaaS firm founder once used it to coordinate seared scallops on the stove while roasting asparagus and baking polenta in the oven. By mapping out each step’s duration and required equipment, they avoided bottlenecks. The key is scheduling based on active versus passive cooking time and factoring in appliance availability.
Q: What about dishes that can’t sit once cooked? How do you handle timing for those?
A: Foods like fried items or delicate fish are scheduled last because they degrade quickly. In such cases, the entire meal plan pivots around them. For instance, if crispy tempura is part of the menu, everything else-rice, dipping sauce, salad-is fully prepped and ready so the tempura can be made just before serving. This minimizes wait time and keeps textures intact.
Q: Is this method only useful for large dinners, or can it help with everyday cooking?
A: It’s equally effective for weeknight meals. A parent preparing dinner after work might use it to sync a 20-minute pasta dish with a 35-minute sheet pan of roasted broccoli and sausage. By starting the sausage first, then the pasta, both finish within minutes of each other. The structure reduces stress and eliminates the need to reheat anything.
Q: How far in advance can I prep ingredients without affecting the timing strategy?
A: Prep can happen hours or even days ahead, as long as the clock starts when active cooking begins. Chopping vegetables, measuring spices, or marinating proteins doesn’t count toward cooking time. A test run during a weekend brunch showed that pre-measured pancake batter and pre-cut fruit allowed three different dishes-including bacon and scrambled eggs-to finish within a two-minute window.