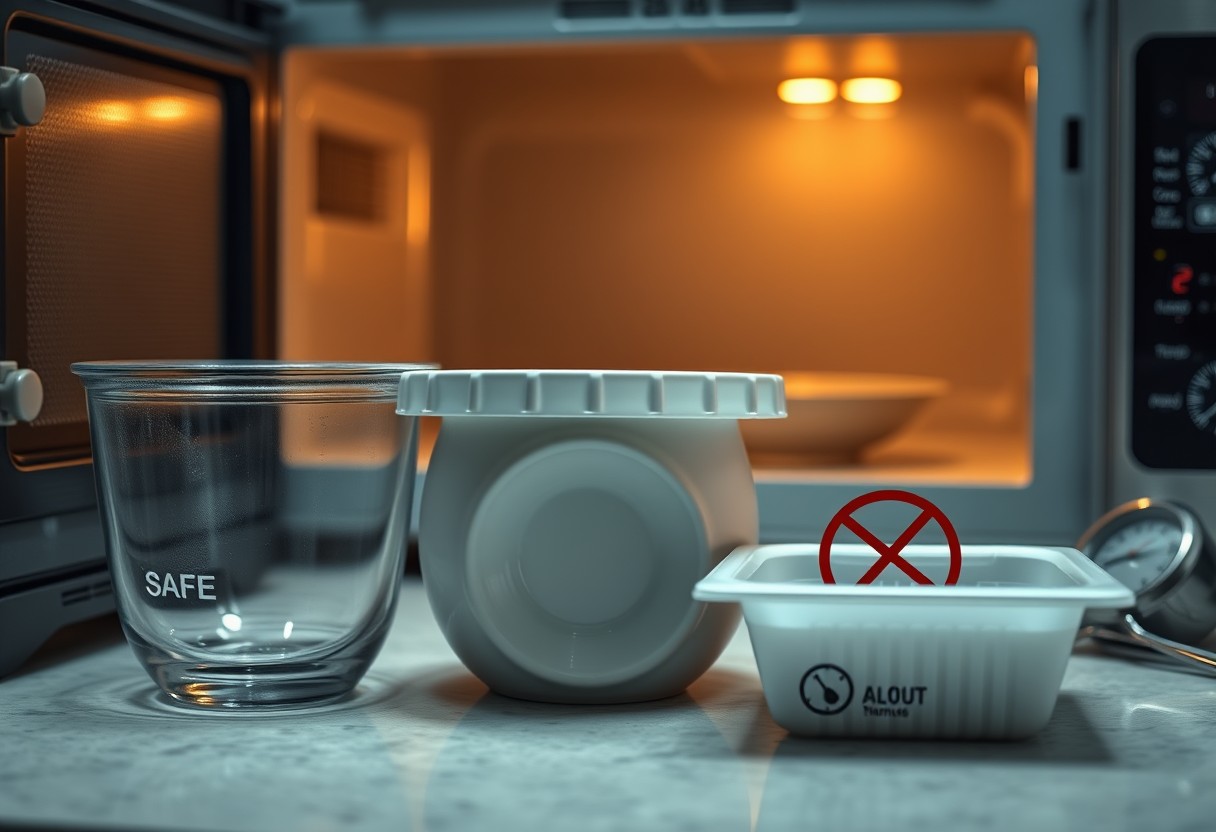
You’ve grabbed a container to reheat leftovers, but not all plastics and ceramics can withstand microwave heat. Using the wrong one risks melting, leaching chemicals, or even starting a fire. This guide shows you how to verify a container’s safety with certainty, using label checks, material analysis, and a simple water test. Your health and kitchen depend on getting this right.
Key Takeaways:
- A container labeled as microwave-safe should carry a clear symbol of wavy lines or a microwave icon, indicating it has been tested for heat resistance and will not warp or release harmful chemicals under normal use.
- Materials like glass, ceramic, and some plastics marked with recycling code 5 (polypropylene) are generally safe, while containers made from polystyrene, PVC, or those with metallic paint or trim can pose serious risks when microwaved.
- The water immersion test-a simple check where the container and a glass of water are microwaved together for one minute-can help verify safety; if the container stays cool while the water heats, it’s likely microwave-safe.
Decoding Manufacturer Labels and Symbols
Look for standardized symbols molded or printed on the container’s base to confirm microwave safety. The most reliable indicator is a microwave-safe icon-a square with wavy lines inside-often accompanied by the words “microwave safe.” If this symbol is missing or unclear, the container may not be designed for microwave use, even if it appears heat-resistant. Always inspect the label before heating, as some plastics and ceramics look similar but react differently under high temperatures.
Locating the microwave-safe icon
Check the bottom of your container for a small graphic of a microwave or wavy lines inside a square, which signifies microwave-safe approval. This icon means the manufacturer has tested the product for safe microwave use under normal conditions. If you don’t see it, especially on older or generic containers, assume it’s not safe. Labels can wear over time, so a faded or missing symbol warrants caution, even if the container appears undamaged.
Understanding the “dishwasher safe” vs. “microwave safe” distinction
Dishwasher-safe labeling does not guarantee microwave safety, even though both involve heat resistance. A container that withstands dishwasher heat may still melt, warp, or release harmful substances in the microwave. Microwave-safe ratings are based on how materials react to direct, rapid heating, not just hot water. Always verify the specific symbol-never assume dishwasher safety extends to microwave use, as the risks differ significantly in intensity and exposure.
Evaluating Material Composition and Risks
Not all materials respond the same way when exposed to microwave energy, and some can pose serious health or safety risks. You need to understand which substances are prone to melting, leaching, or even sparking under electromagnetic waves. Materials like metal-infused ceramics or certain recycled plastics may seem harmless but can overheat or release toxic chemicals. Your safest choices are those specifically engineered to resist thermal stress and electromagnetic interaction. Always inspect the base material before use, even if the container appears sturdy or labeled for kitchen use.
Assessing glass and ceramic types
Glass and ceramic containers are often considered safe, but not every variant withstands microwave exposure. You should confirm whether the item is made from tempered glass or glaze-free ceramic, as some glazes contain trace metals that can spark or overheat. Clear, uncolored glass is generally the most reliable, while hand-painted ceramics may harbor hidden risks. Avoid any piece with metallic trim, cracks, or air bubbles, which can expand and cause breakage. When in doubt, assume it’s not microwave-compatible.
- Choose borosilicate glass for superior heat resistance
- Look for labels like “microwave-safe” or wavy line symbols
- Avoid ceramics with metallic paint or trim
- Check for cracks or bubbles that indicate structural weakness
- Stick to plain, unadorned finishes when possible
| Material Type | Risk Level in Microwave |
| Borosilicate glass | Low |
| Soda-lime glass | Moderate (can crack under thermal shock) |
| Glazed ceramic (lead-based) | High (potential leaching) |
| Stoneware (unglazed) | Low to moderate |
Identifying hazardous plastics and BPA concerns
Plastic containers can release harmful compounds like BPA or phthalates when heated, especially if they’re not designed for microwave use. You should avoid plastics labeled with recycling codes 3 (PVC) and 7 (unless specified as BPA-free), as these often contain chemicals that degrade under heat. Even some “microwave-safe” plastics may warp or emit odors after repeated use, signaling breakdown. Opt for containers clearly marked as BPA-free and made from polypropylene (code 5), which offers better heat resistance and lower leaching risk than alternatives.
Performing the Water Immersion Test
Start by filling the unmarked container with one cup of room-temperature water to assess how it handles heat transfer during microwaving. Place both the container and an identical glass measuring cup filled with the same amount of water into the microwave. Heat on high for one minute. Afterward, carefully feel the outer surface of the container-if it’s hot while the water remains lukewarm, the material is absorbing microwave energy and could overheat or crack. Only containers that stay relatively cool while the water heats are likely microwave-safe.
Setting up the temperature-neutral environment
Ensure both the test container and the control glass are at room temperature before beginning. A temperature differential can skew results, leading you to misjudge the container’s reaction. Use water from the same source and let all items sit in the same space for at least 30 minutes prior to testing. Starting with evenly tempered materials prevents false hot spots and ensures accurate heat absorption readings. Avoid using refrigerated or recently washed cold containers, as thermal variance compromises test reliability.
Interpreting heat distribution results
| Observation | Interpretation |
|---|---|
| Container feels warm but water is hot | Material is absorbing excess energy-not microwave-safe |
| Container remains cool, water is hot | Heat is transferred to water only-likely safe |
| Container is hot, water is cool | Material traps microwave energy-high risk of melting or fire |
Adopting Microwave Safety Best Practices
To prevent warping and chemical leaching, always assess how long you’re microwaving food, especially in plastics labeled as microwave-safe. Even approved containers can degrade under prolonged heat exposure, potentially releasing harmful substances into your meals. The safest practice is to use the shortest effective heating time and avoid high-power settings when possible. For deeper insight into why certain materials react better under microwave energy, see this ELI5: What property of most microwavable food containers ….
Managing heating durations for delicate materials
Plastic and thin glass containers are prone to damage when exposed to extended microwave cycles. You should limit heating times to two minutes or less for these materials, particularly if they’re lightweight or have been used multiple times. Overheating can cause irreversible warping or microfractures, compromising both structural integrity and safety. Use medium power settings to gently warm food and inspect the container immediately after heating-if it feels excessively hot, it’s a sign of material stress.
Avoiding metal accents and foil contamination
Containers with metallic paint, trim, or embedded foil linings pose a serious fire hazard in microwaves. These elements can spark, ignite, or cause arcing that damages both the appliance and the dish. Even small decorative gold rims on ceramic bowls can generate dangerous reactions. Always inspect packaging thoroughly before heating-discard any item showing shiny layers or foil seals. When in doubt, transfer food to a plainly designed, all-ceramic or labeled microwave-safe dish to stay safe.
Managing Lids and Venting Techniques
Utilizing steam vents effectively
You can prevent dangerous pressure buildup by ensuring your container’s lid has functional steam vents. If the lid includes adjustable openings, position them slightly ajar to allow steam to escape while still shielding your microwave from splatters. Containers without proper venting may crack or burst under internal steam pressure, especially during prolonged heating. Always open the vent before starting the microwave-waiting until after heating risks sudden steam release that can cause burns. Even a small gap can make a significant difference in safety and performance.
Selecting microwave-safe covers over plastic wrap
Lids made from glass, silicone, or labeled microwave-safe plastic offer safer, more reliable coverage than traditional plastic wrap. When heated, plastic wrap can melt or leach harmful chemicals into food, particularly when in direct contact with high-fat or high-temperature items. A rigid microwave-safe cover with a built-in vent provides better control over steam release and durability across uses. Using these alternatives reduces both contamination risks and the chance of pressure-related accidents, making them a smarter daily choice.
Recognizing Signs of Container Fatigue
Over time, even high-quality containers degrade from repeated heat exposure and physical stress. You should inspect your microwave-safe items regularly for visible changes that signal they’re no longer safe. Surface warping, soft spots, or a cloudy appearance after washing can mean the material is breaking down. Once structural integrity is compromised, chemicals may leach into food or the container could fail during use. Discontinue use immediately if you notice any of these warning signs, especially when heating fatty or acidic foods that accelerate deterioration.
Spotting pitting and discoloration in plastics
Pitting and discoloration in plastic containers often start as faint yellow or brown spots, especially in areas that contact food directly. These stains aren’t just cosmetic-they indicate chemical breakdown from oils, acids, or repeated microwave cycles. Pitted surfaces trap bacteria and can release plastic particles into your meals. If your container feels rough to the touch or shows dark speckling, it’s no longer safe. Even if it once carried a microwave-safe label, extensive discoloration means it’s time to replace it.
Checking for micro-cracks in glass and ceramic
Glass and ceramic may seem durable, but tiny cracks can form from thermal shock or impact, often invisible at first glance. Run your finger along the interior surface-you might feel a hairline fracture before you see it. These micro-cracks compromise structural strength and can expand during heating, leading to sudden shattering. A container with any crack, no matter how small, is a safety hazard in the microwave. Hold it up to the light to reveal hidden fissures, and discard it immediately if damage is present.
Summing up
You now know how to verify if a container is truly microwave-safe by checking for labeled symbols, assessing its material, and performing simple tests like the water immersion method. You understand that even containers labeled as safe can degrade over time, so inspecting for cracks, warping, or cloudiness is part of routine safety. Your microwave habits become safer when you apply these practical steps consistently and avoid assumptions based on appearance alone. You’ve equipped yourself with the knowledge to make confident, informed choices every time you heat food.
FAQ
Q: How can I tell if a container has a microwave-safe label?
A: Look for wording such as “microwave-safe” or a symbol resembling wavy lines or a microwave icon, usually printed on the bottom of the container. This marking indicates the manufacturer tested the item for heat resistance and confirmed it won’t warp or release harmful chemicals under normal microwave use. Containers without this label, even if made from materials like glass or ceramic, may still be unsuitable if they contain hidden metal elements or glazes with heavy metals.
Q: Can all glass or ceramic containers go in the microwave?
A: Not all glass or ceramic containers are microwave-safe. Some ceramics have metallic paint or glaze that can spark or overheat when exposed to microwaves. Handmade pottery or older dishes, especially those imported, might contain lead or other contaminants that can leach into food when heated. To check, look for a microwave-safe designation or perform a simple test: place the empty container in the microwave alongside a cup of water and heat for one minute. If the container stays cool but the water heats up, it’s likely safe. If the container warms significantly, it’s absorbing microwave energy and should not be used.
Q: What types of plastic should never be used in the microwave?
A: Avoid plastics labeled with recycling codes 3 (PVC), 6 (polystyrene), and 7 (unless specified as microwave-safe), as they can melt or release harmful chemicals like phthalates and styrene when heated. Takeout containers, yogurt cups, and margarine tubs are often made from these materials and are not designed for reheating. Only use plastic containers explicitly marked as microwave-safe, typically made from polypropylene (code 5), and avoid using them repeatedly, especially with fatty or acidic foods that accelerate chemical leaching.
Q: Is it safe to microwave a container with a lid on?
A: Microwaving with a lid is acceptable only if the lid is labeled microwave-safe and properly vented. Many plastic lids warp or melt under high heat, while sealed lids can trap steam and cause pressure buildup, leading to spills or container rupture. If using a lid, crack it slightly open or use one with a built-in vent. Glass or ceramic containers with microwave-safe silicone covers are safer options. Never microwave containers with metal rims or handles, even if the main body appears safe.
Q: What signs indicate a container is no longer safe to microwave?
A: Cracks, warping, cloudiness, or scorch marks signal a container has degraded and should be retired from microwave use. Plastic containers that feel brittle or develop an odor after washing are breaking down and may leach chemicals. Repeated heating cycles weaken materials over time, especially plastics. For glass or ceramic, any visible damage increases the risk of shattering during heating. When in doubt, replace the container-older or damaged items are not worth the health risk.