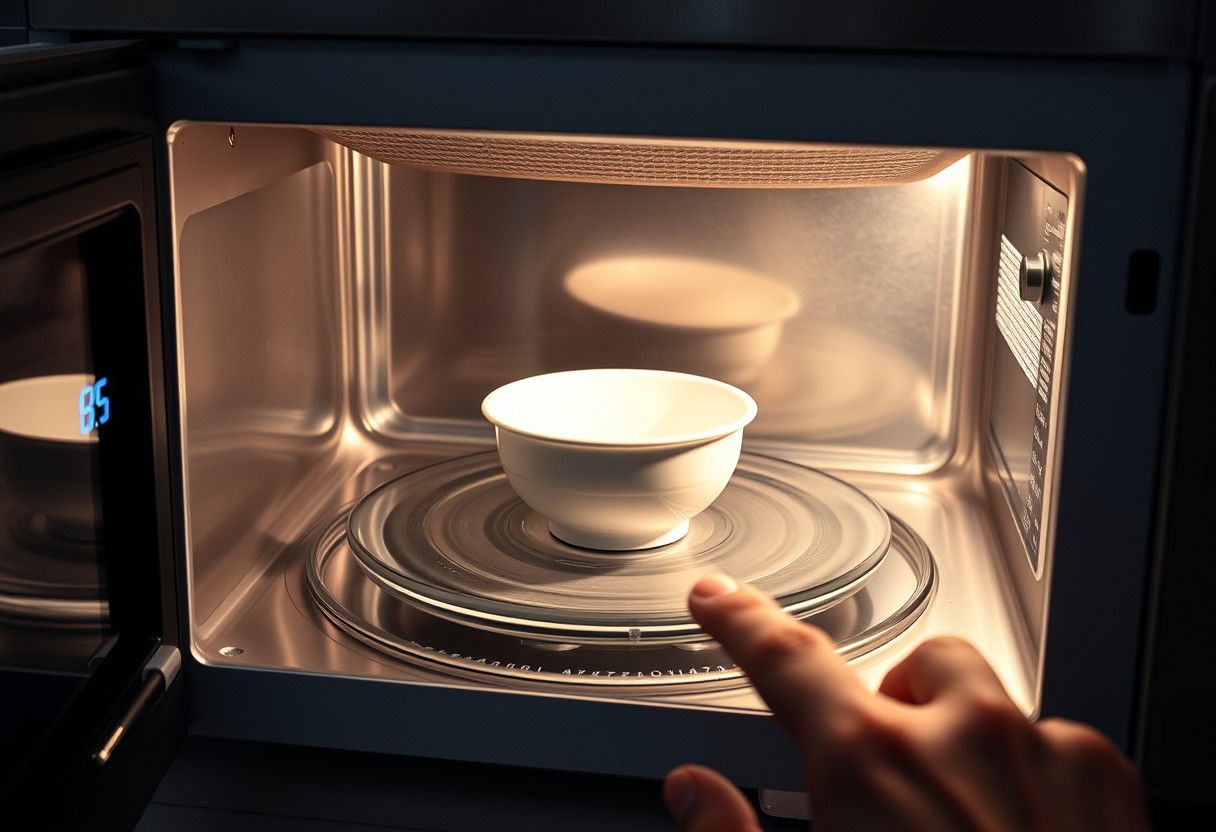
You can reheat or cook small portions in your microwave without turning them into dry, rubbery leftovers. The key is using lower power settings and shorter intervals, not blasting food on full power. This prevents dangerous hot spots and uneven cooking. With the right technique, you’ll get consistently hot, moist results every time.
Key Takeaways:
- Use lower power settings to heat small portions evenly, allowing the food to warm through without cooking the edges or drying out the center.
- Cover food with a microwave-safe lid or damp paper towel to trap steam, which helps maintain moisture and promotes uniform heating.
- Pause and stir or rotate the dish halfway through heating, especially for dense or unevenly shaped items, to prevent hot spots and undercooked areas.
Understanding Microwave Power Levels
Most microwaves default to 100% power, but using full wattage for small portions often leads to uneven heating and scorching at the edges. Lowering the power level allows heat to penetrate food more gently, reducing the risk of overcooking while ensuring thorough warming. You don’t need to blast your meal with maximum energy-especially when dealing with delicate items like sauces or leftovers in small quantities. Adjusting the setting gives you far more control than simply shortening the time.
How to Adjust Your Microwave’s Wattage
Your microwave likely has a power button or settings menu where you can manually select a lower percentage. Start by pressing the “Power” or “Settings” option before entering the cook time-most models allow adjustments in 10% increments. Setting it to 50% or 70% is often ideal for small dishes, slowing down the heating process to avoid rubbery textures or burnt spots. Always confirm the change with a beep or display indicator so you’re not accidentally cooking on high.
Determining the Right Power Percentage for Small Portions
A 30- to 50-watt reduction can make the difference between tender reheating and dried-out food. For something small like a single serving of pasta or a bowl of soup, try starting at 60% power and assess after one minute. Delicate foods like cheese-based dishes or custards benefit most from 30-40% power, preventing separation or curdling. Watch how the food responds-gentle steam and even warmth mean you’ve found the right setting.

Selecting the Best Containers and Covers
Choosing the right container plays a direct role in how evenly your small portions heat. Materials that distribute heat smoothly help prevent hot spots, which can lead to burnt edges and cold centers. Always verify that your dish is labeled as microwave-safe, as non-approved plastics or ceramics with metallic paint can release harmful substances or cause sparking. Glass and ceramic containers without metallic trim are typically the safest choices for consistent results.
Factors in Choosing Microwave-Safe Materials
Different materials react uniquely under microwave energy, so selecting wisely ensures both safety and even heating. Look for containers made from Borosilicate glass or high-quality ceramic, as they resist thermal shock and spread heat more uniformly than plastic. Avoid thin plastic takeout containers-they can warp or leach chemicals when heated. If using plastic, confirm it’s labeled microwave-safe and free of cracks or scratches, which harbor bacteria and degrade further with heat exposure. Materials matter because uneven conduction leads directly to overcooked edges and unsatisfying meals.
- Use only containers marked as microwave-safe
- Favor Borosilicate glass for durability and even heating
- Avoid plastics not intended for reheating-especially cracked or stained ones
- Check for metallic paint or trim on ceramic dishes, which can spark
- Never use foam trays or aluminum foil in the microwave
Tips for Using Lids and Damp Paper Towels
Covering food properly locks in moisture and supports gentler heating, reducing the risk of drying out or scorching small servings. A microwave-safe lid with a slight vent allows steam to escape while maintaining internal humidity. When lids aren’t available, a damp paper towel placed directly over the food works surprisingly well-it adds instant moisture and blocks splatters without trapping excessive heat. This simple step prevents surface hardening and helps delicate items like fish or rice warm through without becoming rubbery or tough.
- Place a damp paper towel over foods prone to drying, like bread or poultry
- Ensure microwave-safe lids have a vented opening to prevent pressure buildup
- Do not seal containers airtight-steam needs room to circulate
- Fold the towel to cover larger areas evenly without slipping
- Replace if the towel dries out mid-heating to maintain moisture levels
Strategic Food Placement and Arrangement
Positioning food correctly inside the microwave directly impacts how evenly it heats. Arrange items in a circular pattern around the outer edge of the turntable, leaving the center empty, to maximize exposure to microwave energy. Microwaves tend to concentrate toward the outer areas, so placing smaller portions along this ring ensures more uniform cooking. Avoid clustering pieces together, as overlapping or tightly packed food leads to cold spots and uneven results. Rotating the dish halfway through isn’t necessary when using proper placement-let the turntable do the work while your arrangement supports consistent heating from the start.
How to Use the Circular Arrangement Method for Small Bites
When reheating small portions like diced vegetables, chicken cubes, or leftover dumplings, lay them out in a ring formation just inside the rim of the plate or container. This method takes advantage of the microwave’s natural energy flow, directing waves across the perimeter where intensity is highest. Keep space between each piece to allow energy to circulate freely and prevent shielding. The result is evenly warmed food without some pieces turning rubbery while others remain cold. For best outcomes, use a flat, microwave-safe dish to maintain consistent distance from the energy source.
Factors Influencing Energy Distribution on the Turntable
- Microwave energy is not uniformly distributed-hotspots typically form in concentric zones rather than covering the entire surface evenly
- The size and shape of your container affect how waves penetrate; shallow, round dishes support better distribution than tall or square ones
- Denser food areas absorb more energy and heat faster, creating temperature imbalances if not spaced properly
- The turntable helps mitigate uneven exposure, but its effectiveness depends on how food is arranged at the start
- Thicker portions placed toward the outer edge receive stronger wave concentration, which improves overall consistency
Mastering Timing and the Interval Method
Start with short bursts of 30 seconds to maintain control over how quickly your food heats. Microwaves vary in strength, and even a few extra seconds can push delicate portions from warm to overcooked. After each interval, check the temperature and stir or rearrange as needed. This method prevents hotspots and allows you to stop the moment the food reaches the ideal warmth, especially important for items like leftovers or reheated proteins that dry out quickly.
How to Use the 30-Second Interval Rule
- Use 30-second bursts to avoid sudden overheating
- Pause and assess temperature and texture between intervals
- Stir or flip food halfway through for even results
- Stop immediately when warmth is sufficient-residual heat will continue the process
Set your microwave to heat in 30-second increments, especially for small servings. This approach gives you real-time control, letting you respond before food becomes rubbery or dried out. Overheating happens fast, but with measured pulses, you keep delicate dishes like oatmeal, steamed vegetables, or scrambled eggs at their best without crossing the line into toughness or splatter.
Tips for Utilizing Standing Time for Heat Equalization
- Allow food to rest for 1-2 minutes after microwaving
- Cover dishes during standing time to retain gentle warmth
- Use residual heat to finish warming without added energy
- Check final temperature before eating to avoid burns
Let your dish sit undisturbed for a minute or two after the timer stops. During this period, heat continues to spread through the food, smoothing out temperature differences without further microwave exposure. Standing time can complete the cooking process, so factor it in when deciding when to stop-especially with dense or layered items like casseroles or mashed potatoes. This simple pause prevents the outer edges from becoming too hot while the center catches up.
Adding Moisture and Steam
Water is your best tool for preserving the quality of small meals in the microwave. Adding a few drops of water to dry items like rice or pasta introduces moisture that prevents them from hardening or turning rubbery. For best results, cover the dish to trap steam and encourage even heating. Tips on how to cook food in the microwave often emphasize this simple step, which makes a noticeable difference in how food retains its original texture and flavor without overcooking.
Tips for Adding Water Droplets to Dry Portions
Even the smallest amount of liquid can transform how your food reheats. Sprinkle a few water droplets directly over grains, vegetables, or proteins before microwaving to maintain softness and prevent scorching. Use a spray bottle for precision, or lightly drizzle with a spoon. Always cover the dish afterward to lock in moisture.
- Add 2-3 teaspoons of water for portions under one cup
- Use a microwave-safe lid or damp paper towel to seal in steam
- Avoid oversaturating delicate foods like reheated bread or pastry
Factors in Creating a Steam Chamber with Microwave-Safe Wraps
Trapping natural moisture enhances how evenly small servings heat. Placing a microwave-safe cover or wrap over your dish creates a sealed environment where steam builds quickly and softens food gently. This method mimics stovetop steaming and prevents the outer edges from drying out while the center lags behind. Materials like silicone lids or parchment paper work effectively when secured properly.
- Ensure the wrap is labeled microwave-safe to avoid melting or fumes
- Leave a small vent to prevent pressure buildup
- Use silicone lids for reusable, airtight coverage
Identifying and Preventing Overcooking Signs
Watch for subtle shifts in texture and color to catch overcooking early. If edges begin to curl or turn golden before the center warms, the heat is too high or the timing too long. Steam escaping aggressively from under the cover often signals that moisture is being lost rapidly, increasing the risk of dryness. Foods like fish or cheese can go from tender to rubbery in seconds, so pause and check at intervals. Catching these signs while they’re still reversible lets you adjust without ruining the meal.
Factors That Lead to Rubbery Textures in Small Portions
Small portions lose moisture faster, making them prone to rubbery textures when exposed to high heat. Dense proteins like chicken or fish are especially vulnerable because their fibers tighten quickly in intense microwave energy. Overheating even slightly can cause irreversible protein denaturation, resulting in a chewy, unpleasant mouthfeel. Using too high a power level or skipping a cover traps heat without moisture, worsening the effect.
- High microwave power accelerates moisture loss
- Uneven thickness leads to inconsistent cooking
- Lack of steam cover increases surface drying
- Proteins overcook when heated past safe thresholds
How to Rescue Slightly Over-Dried Food
A few simple steps can restore moisture to food that’s just started to dry out. Dampen a paper towel and loosely cover the dish, then microwave in 10-second bursts at 50% power. The added steam gently rehydrates without further cooking. For grains or vegetables, a few drops of water or broth mixed in before reheating can make a noticeable difference. While you can’t reverse severe overcooking, acting quickly on early dryness helps preserve texture and flavor effectively.
To wrap up
You now have the tools to heat small portions in your microwave without overcooking them. Use lower power settings to apply heat gradually, choose microwave-safe containers with covers to retain moisture, and place food evenly for consistent results. The interval method-heating in short bursts and checking often-gives you control and prevents dryness. Adding a splash of water or using steam traps helps maintain texture. Watch for signs like hard edges or strong odors to stop heating at the right moment. With these techniques, your small meals come out warm, moist, and just right every time.

FAQ
Q: How can I adjust cooking time for small portions in the microwave?
A: Start with shorter intervals-30 to 45 seconds for most small portions like a single serving of vegetables or a baked potato. Microwaves heat unevenly, especially with smaller amounts of food, so brief bursts allow you to check progress and avoid overcooking. Stir or rotate the food between intervals if possible. For example, a quarter cup of rice may only need 90 seconds total at 50% power, split into two 45-second sessions.
Q: What power level should I use for reheating a small plate of leftovers?
A: Use 30% to 50% power for reheating small portions. High power can cause edges to dry out or burn while the center remains cold. At lower settings, the heat penetrates more evenly. A single serving of pasta, for instance, reheats better at 40% power for two minutes than at full power for one minute, which often leads to rubbery texture.
Q: Why does my small meal sometimes explode or splatter in the microwave?
A: Small portions with high moisture content, like oatmeal or sauces, can overheat quickly at full power, causing sudden boiling and splattering. Cover the dish with a microwave-safe lid or plate to contain steam. Using 50% power reduces the risk. For example, a half-cup of soup covered with a ceramic saucer and heated at 40% power for 1.5 minutes heats smoothly without mess.
Q: Is it better to use a small or large container for small portions?
A: Use a container that fits the food snugly but leaves some headspace. A large bowl spreads the food thinly, causing edges to overcook while the center lags. A small, round container concentrates the heat more evenly. For a single egg omelet, a 6-ounce ramekin cooks faster and more uniformly than a wide, shallow dish.
Q: Can stirring really prevent overcooking in small portions?
A: Yes, stirring redistributes heat, especially important when microwaving small amounts. Without stirring, hot spots develop quickly. Even a quick stir halfway through cooking can make a difference. For instance, a small portion of mashed sweet potatoes stirred once after 30 seconds avoids a hardened edge and cold center, achieving consistent texture in under two minutes.