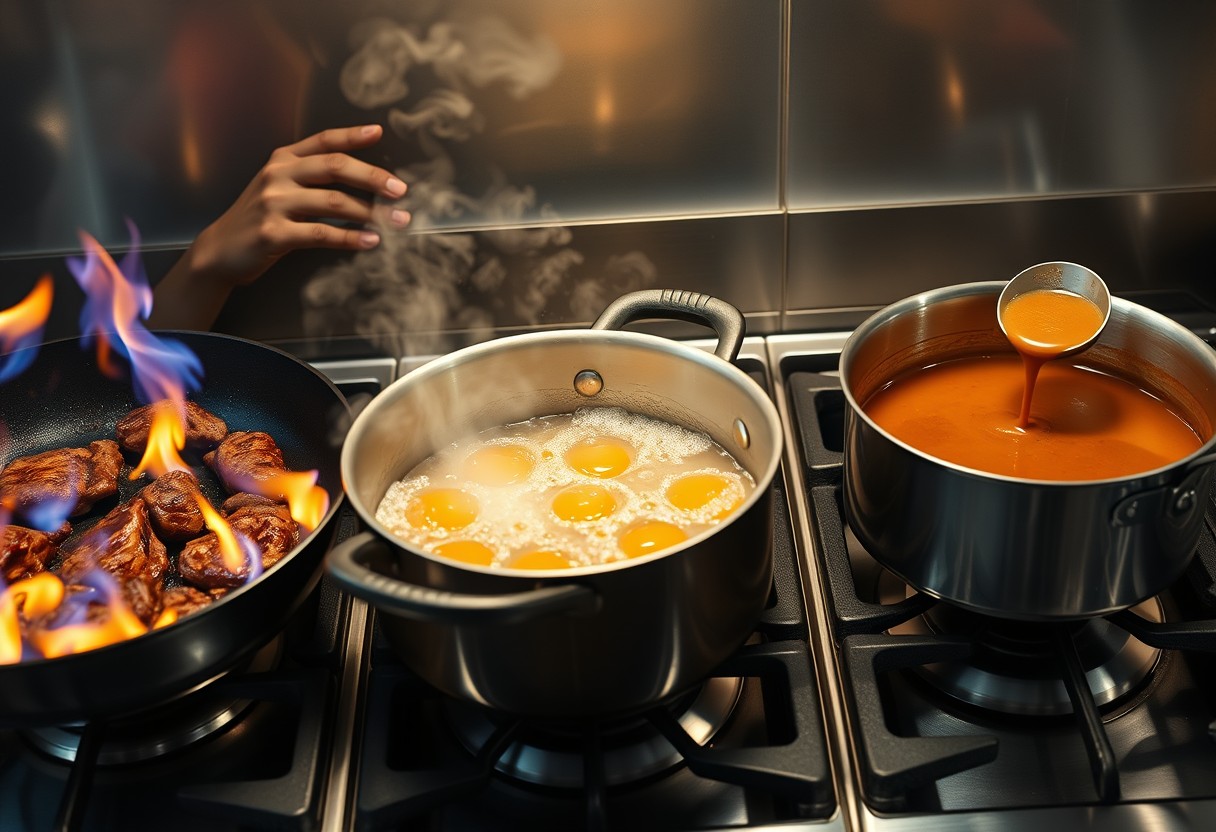
When your dish isn’t progressing as expected, you need to assess whether to increase heat, extend time, or add more liquid. Guessing wrong can ruin a meal-too much heat burns, too much time dries, and excess liquid dilutes flavor. You must read visual cues and textures accurately. A properly adjusted dish maintains moisture, develops desired texture, and reaches safe internal temperatures without overcooking.
Key Takeaways:
- When food is cooking too slowly and remains firm or underdeveloped, the issue is often insufficient time rather than heat-especially with dense proteins or root vegetables that need prolonged exposure to reach the proper internal consistency.
- A dry or sticking pan usually signals a lack of liquid, not a need for higher temperature; adding a splash of broth, water, or sauce can revive a dish and prevent burning without overcooking the ingredients.
- If the exterior is browning too quickly while the inside stays raw, the heat is too high-lower the temperature to allow even cooking, using time as the primary tool to finish the food through to the center.
How to Evaluate Texture to Determine Total Cooking Time
Texture offers the clearest signal when connective tissue in tougher cuts of meat hasn’t fully broken down. When you press or probe the meat, resistance indicates collagen remains intact, meaning the cooking process needs to continue. You don’t need higher heat-what you need is patience. Slow, extended exposure to consistent warmth transforms dense fibers into a soft, yielding structure. Rushing this stage results in chewy, unpleasant results no sauce can fix. Trust tactile feedback over the clock.
Testing for tenderness using the fork-tender method
Slide the tines of a fork into the thickest part of the meat with gentle pressure. If the fork meets firm resistance or the meat clings tightly, it’s not done. A properly cooked piece will allow the fork to penetrate easily, almost sliding in on its own. You should be able to gently twist or pull a small portion apart without force. This ease of separation confirms that collagen has fully converted to gelatin. Repeat the test in multiple spots to ensure even doneness throughout.
Recognizing the difference between undercooked and tough proteins
Undercooked proteins often feel dense and springy, bouncing back when pressed, while tough proteins may seem firm but aren’t necessarily raw-they might have been cooked at too high a temperature too quickly, causing fibers to seize. True tenderness comes only after sufficient time to dissolve connective tissue. A chewy brisket isn’t undercooked in the food-safety sense but under-transformed in structure. Don’t mistake surface browning for internal readiness. Let texture, not color, guide your judgment.
Factors for Adjusting Temperature for Surface and Internal Balance
To achieve a properly seared exterior without compromising internal doneness, you must actively manage your pan’s temperature. When proteins or vegetables hit the surface, they release moisture that can inhibit browning if the heat is too low. A hot pan ensures rapid evaporation and initiates Maillard reaction for a rich, flavorful crust. Conversely, excessive heat leads to charring before the interior cooks through. Monitoring how quickly the surface color changes gives you real-time feedback on whether adjustments are needed. Success hinges on balancing these reactions in real time.
- Surface browning indicates effective heat transfer
- Pan temperature directly affects crust development
- Maillard reaction requires sufficient heat and dry surface
- Heat conductivity varies by cookware material
- Food thickness influences ideal searing duration
| Situation | Action |
| Foods steaming instead of browning | Increase heat slightly and avoid overcrowding |
| Exterior blackening, raw center | Reduce heat after initial sear |
| Sticking or uneven color | Wait for natural release; adjust heat evenly |
| Desired crust forming too slowly | Raise temperature incrementally |
Identifying signs of insufficient heat in the pan
You’ll notice pale, grayish spots instead of a golden-brown crust when the pan isn’t hot enough. Foods release moisture but fail to sizzle aggressively, leading to steaming rather than searing. This creates a rubbery texture and dull flavor profile due to stalled Maillard development. If the oil lies flat and doesn’t shimmer or if food sticks prematurely, the temperature is too low. Preheating the pan adequately-until a drop of water dances and evaporates instantly-is essential for achieving that desirable, restaurant-quality finish.
Lowering the flame to prevent external burning before doneness
Your ingredient’s surface may darken too quickly while the inside remains undercooked, signaling excessive heat. When edges char or blacken within minutes, it’s time to reduce the flame immediately. This is especially critical with thicker cuts or dense vegetables that need more time internally. Dropping the heat after an initial sear allows the center to catch up without sacrificing integrity. A controlled reduction preserves flavor development while preventing bitterness from burnt proteins or sugars.
Tips for Assessing Liquid Levels to Maintain Moisture
Maintaining proper hydration in your dish prevents dry, tough results and ensures a succulent outcome every time. You can judge liquid needs by observing the pan’s activity-visible steam, bubbling intensity, and surface sheen offer real-time clues. If the cooking surface looks sticky or ingredients begin to stick prematurely, you likely need more liquid. Use a splash of broth, wine, or water strategically to revive the environment. Watch for pooling-if liquid gathers at the pan’s edge but disappears quickly upon stirring, replenishment is necessary. Always add small amounts to avoid diluting flavor.
- Monitor evaporation rate by checking how fast liquid reduces during cooking
- Add liquid early when signs of dryness appear, not after sticking occurs
- Use flavorful liquids like stock or wine instead of plain water for better taste
- Cover the pan briefly to trap moisture if reduction happens too quickly
- Adjust heat downward if liquid evaporates too fast, preserving both moisture and control
Monitoring evaporation and the need for deglazing
Steam rising steadily from your pan indicates active moisture release, but sudden drops in vapor signal excessive evaporation. When you see browned bits clinging tightly to the bottom and the base liquid nearly gone, deglazing becomes essential. Pour in a small amount of liquid while scraping with a wooden spoon to lift those flavorful residues. This action not only prevents scorching but also enriches your sauce. Waiting too long risks burning, which cannot be reversed.
Using steam to accelerate cooking without scorching
A tight-fitting lid traps escaping moisture, creating natural steam that penetrates food gently and speeds up softening. You’ll notice condensation forming on the underside within minutes-if it doesn’t, the seal may be poor or liquid levels too low. Adding just a few tablespoons of water and covering the pan can revive stalled cooking safely. This method protects delicate ingredients from direct heat damage while ensuring even hydration throughout the dish.
How to Distinguish Between Heat and Time for Vegetable Doneness
Vegetables soften as their cell walls break down under heat, but the balance between temperature and duration determines whether they retain shape or turn to mush. You need enough heat to begin breaking down fibers without relying solely on extended cooking, which can lead to over-softening. If your carrots are still firm in the center but charred outside, you’re using too much heat too quickly. Lower the temperature and allow time to do its work. For even results, consider starting with higher heat, then reducing it. Learn more about Cooking Problems and Solutions: 19 Common Fixes to refine your approach.
Avoiding crunchy centers in roasted produce
Roasting dense vegetables like potatoes or beets requires consistent heat penetration to prevent a raw, crunchy core. If the outside browns too fast while the inside stays firm, the oven temperature is too high. Reduce it by 25 degrees and extend the cooking time. Cutting vegetables into uniform sizes ensures even heat exposure. Never overcrowd the pan, as trapped steam can inhibit browning and delay internal softening. A fork should slide into the center with slight resistance, not meet solid resistance or fall through completely.
Determining when to cover versus when to sear
Covering vegetables during cooking traps steam, accelerating internal softening while sacrificing surface color. You’ll want to cover when the goal is tenderness throughout, such as with braised fennel or simmered squash. For caramelization and texture, leave the pan uncovered to allow moisture to escape and heat to build a seared crust. Switching from covered to uncovered mid-cook gives you both benefits-tender interiors and a rich, browned exterior-without compromising structural integrity.
How to Troubleshoot Stalled Cooking Processes
When food stops progressing in the pan, it’s often because the energy transfer has dropped below what’s needed to continue breaking down fibers or evaporating moisture. You may notice sizzling fading or ingredients clinging stubbornly to the surface without browning. This silence in the pan is a warning sign-either the heat has dipped too low or evaporation has outpaced replenishment. Before adjusting anything, assess whether the contents are drying out or simply cooking too slowly. Reacting correctly prevents burning or undercooking.
Determining if a stall requires more liquid or more heat
A stalled dish with dry, sticky residue at the bottom of the pan likely lacks moisture, while one that simmers steadily but shows no texture change probably needs higher temperatures. If ingredients steam instead of sear, the pan isn’t hot enough to drive proper browning. On the other hand, if bits are darkening too fast or sticking irreversibly, adding a splash of liquid relieves the heat stress. Watch for visual cues: glossy surfaces suggest moisture presence, whereas dull, clumped textures signal a dry stall. Respond accordingly-adjust flame or deglaze-to restore momentum.
Adjusting factors based on ingredient density
- Soft vegetables like zucchini collapse quickly and stall when overcooked, so low heat maintains control
- Dense roots such as carrots or potatoes need sustained high heat to penetrate their core
- Meats with tight muscle fibers require time and consistent warmth to tenderize
- Layered dishes with mixed components often need staggered adjustments to balance progress
Denser items absorb and retain heat more slowly, meaning they’re prone to outer scorching before inner doneness. When you see softer elements finishing ahead of firmer ones, lower the flame slightly and cover the pan to promote even conduction. This preserves exterior integrity while allowing internal temperature to rise. Matching your response to mass and structure prevents patchy results.
Final Words
You now know how to assess whether a cooking problem calls for more heat, more time, or more liquid. When food lacks tenderness, consider extending cooking time before increasing temperature. If the exterior burns before the interior cooks, reduce heat and allow more time. A dry pan or thickened sauce signals the need for added liquid. Trust your senses-sight, smell, and texture-over strict timers. Adjustments based on observation lead to better results than rigid adherence to recipes. Cooking is responsive, and your ability to adapt ensures consistent, reliable outcomes every time you prepare a meal.
FAQ
Q: How can I tell if my stew needs more time or more liquid?
A: If the stew has large pieces of meat or vegetables that are still firm, it likely needs more time to break down connective tissues and soften fibers. Check the liquid level-if it’s below the ingredients and the pan is at risk of scorching, add a small amount of broth or water. A dish that’s thickening too quickly with ingredients not yet tender means you should add liquid and continue cooking. On the other hand, if the ingredients are nearly tender but the sauce is too thin, keep cooking uncovered to allow evaporation without adding more liquid.
Q: My sauce is not thickening-should I increase the heat or let it simmer longer?
A: Simmering longer at a steady, moderate heat is usually the better approach. High heat can cause the liquid to reduce too quickly, risking a burnt bottom or uneven consistency. If the sauce is watery but the flavor is developing well, maintain a gentle simmer with the lid off. This allows moisture to escape gradually while preserving texture. Only increase the heat slightly if you’re in a hurry and monitor closely to prevent overheating.
Q: Why are my roasted vegetables still crunchy after 30 minutes in the oven?
A: Dense vegetables like carrots or potatoes may need more time even at standard roasting temperatures. If they’re browning too fast on the outside but staying hard inside, the oven temperature might be too high. Try lowering the heat slightly and extending the cooking time. Covering the pan with foil for part of the cooking process can also help steam them gently from the inside while still allowing for browning later.
Q: My soup tastes bland and the ingredients aren’t flavorful-does this mean it needs more heat?
A: Blandness usually means the ingredients haven’t had enough time to release their flavors into the broth. Simmering longer at a low to moderate temperature allows herbs, spices, and vegetables to infuse the liquid. Increasing the heat won’t speed up flavor development and may overcook delicate components. Let the soup simmer gently for another 20 to 30 minutes, then taste again before adjusting seasoning.
Q: The bottom of my pot is burning but the grains are still hard-what should I do?
A: This indicates insufficient liquid and possibly excessive heat. Immediately remove the pot from the heat and assess how much liquid remains. If the grains are still firm, add hot water or broth, enough to cover them by about half an inch, then stir gently to release any stuck bits. Return to a simmer over low heat, cover, and cook until the grains soften. A double boiler setup or placing a heat diffuser under the pot can prevent future scorching.